Easy Halloween Latte Art Ideas for Beginners
Halloween latte art turns a regular cup into something worth photographing. Adding a spooky design takes a few minutes and no professional training.
What Is Halloween Latte Art and Why Try It
Halloween latte art is any seasonal design added to the surface of a latte or other milk-based coffee drink (ghosts, pumpkins, spiderwebs, bats, skulls) using cocoa powder, caramel, or the contrast between dark espresso and white foam. It ranges from simple stencil dusting to toothpick drawings on foam.
Halloween coffee art photographs well and takes almost no extra time once you know the basics. You do not need to be a barista. Most halloween latte art designs for beginners rely on stencils, a toothpick, or a simple pour technique anyone can learn in one try.
Tools You Need to Create Halloween Coffee Art
You do not need professional equipment to make halloween coffee art at home.
Milk frother: A handheld frother is enough for most beginner designs. A steam wand produces finer microfoam if you have one, but it is not required.
Fine mesh sieve: for stencil designs, you need something to dust cocoa powder, matcha, or cinnamon evenly over the foam surface.
Toothpick or thin skewer: the most useful tool for freehand halloween latte art. Drag through foam and caramel to create webs and simple shapes.
Stencils: printable or store-bought in bat, skull, pumpkin, and ghost shapes. Hold just above the foam surface and dust through.
Cocoa powder or matcha: cocoa produces dark contrast against white foam. Matcha gives a green tint for a more dramatic effect.
Squeeze bottle: useful for caramel or chocolate sauce when drawing patterns directly onto the foam.
Easy Halloween Latte Art Ideas for Beginners
These easy halloween latte art designs require no freehand drawing. Each one uses a stencil, a toothpick, or a simple pattern that works on the first try.
Spider web: pull a shot of espresso and add steamed milk. Drizzle caramel in three or four concentric circles on the foam. Drag a toothpick from the center outward through each circle. The lines pull the circles into a web. The most forgiving design: looks intentional even if slightly uneven.
Ghost: pour steamed milk into espresso. Dust cocoa powder through a ghost stencil. Finish with two small caramel dots for eyes.
Pumpkin: place a pumpkin stencil over white foam and dust with cinnamon or cocoa. Add a stem shape with a caramel-tipped toothpick.
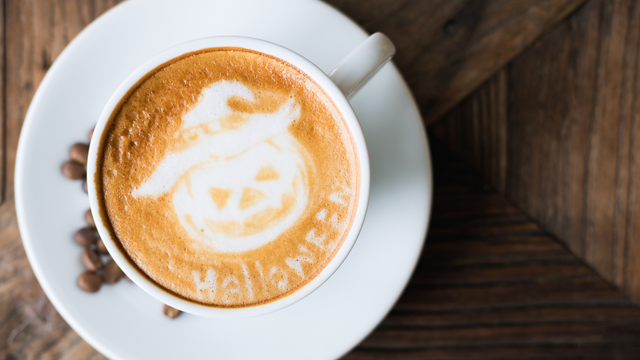
Jack-o-lantern face: use a squeeze bottle with caramel to draw triangular eyes and a jagged mouth directly onto the foam.
Spooky Latte Art Designs to Impress Your Guests
Once you are comfortable with stencils and the toothpick technique, the spooky latte art designs go a step further.
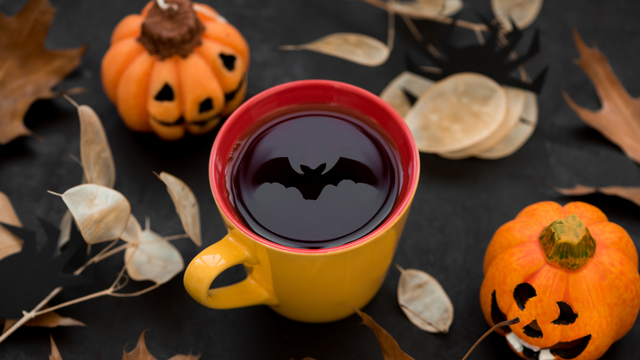
Bat silhouette: dust cocoa through a bat stencil over the white foam. Hold the stencil close to the surface for crisp edges. High contrast, but minimal effort.
Cauldron with bubbles: draw a cauldron outline with caramel, add small circles above for bubbles, then fill the shape with a dusting of matcha for a green interior.
Spiderweb with spider: make the concentric circle web, then add a small spider body at the edge with two chocolate drops and thin legs drawn with a toothpick.
Skull: dust cocoa through a skull stencil. Swirl the cup gently after pouring to level the foam before you dust.
Step by Step: Ghost, Pumpkin, and Bat Latte Art
Ghost: pull a double shot espresso. Steam milk to 140-150 degrees and pour slowly to build a thick foam layer. Hold a ghost stencil just above the foam and dust cocoa through a fine sieve. Add two caramel dots for eyes.
Pumpkin: prepare the same latte base. Place a pumpkin stencil over the cup and dust with cinnamon or paprika. Remove carefully. Add a stem and triangle features with a caramel-tipped toothpick.
Bat: pour the latte and let foam settle for fifteen seconds. Place a bat stencil flat over the cup. Dust cocoa through a sieve. Lift straight up to avoid smearing.
Common Mistakes to Avoid With Halloween Latte Art
Foam too loose: heat milk to 130-150 degrees and froth until thick enough to hold its shape. Watery foam does not hold a pattern.
Stencil too high: the further the stencil is from the foam, the more powder spreads. Hold it as close as possible without touching the surface.
Rushing the toothpick: slow, even strokes pull cleanly. Dragging fast breaks the lines.
Too much powder: a thin layer reads clearly, while too much powder creates clumps. Tap the sieve lightly and dust from low.
Pouring milk too fast: an aggressive pour disrupts the foam. Pour slowly and stop while foam is still visible.